
Indoor marble kitchens
Marble Kitchen Splashback: Full Slab, Cut-outs and Care
A marble kitchen splashback is the slab that protects the wall between worktop and wall units: it can be an upstand a few centimetres high or a full 2 cm slab, cut around sockets and shelves. Behind the hob marble tolerates moderate heat; behind the sink a honed finish is best. For fewer worries, the same wall can be made in Laminam or Dekton.
Upstand or full-slab splashback
A marble kitchen splashback is the stone that protects the wall behind the worktop. It is also the surface you see most, at eye level, so it is best decided together with the marble kitchen worktop, not once the kitchen is finished.
An upstand is a strip cut from the same slab as the worktop, generally 3 to 10 centimetres high: it closes the gap between worktop and wall, stops water running towards the plaster and leaves the rest of the wall to washable paint or tiles. A full-slab splashback is a different project: a slab that rises from the worktop to the wall units or the hood, with no grout lines to trap grease and with the vein carrying on from the worktop.
| Solution | How high it goes | When to choose it | Worth knowing |
|---|---|---|---|
| Upstand | A strip 3 to 10 cm above the worktop | Painted or tiled walls; when the stone is meant to stay on the worktop | Same slab as the worktop; does not protect the wall behind the hob |
| Half height | Up to a shelf or the window sill | Walls without wall units, kitchens with open shelving | The top edge stays on show and is finished like the worktop edge |
| Full slab | From the worktop to the underside of the wall units or the hood | When the splashback is to be the picture of the kitchen | Sockets, hood and wall units must be surveyed before cutting |
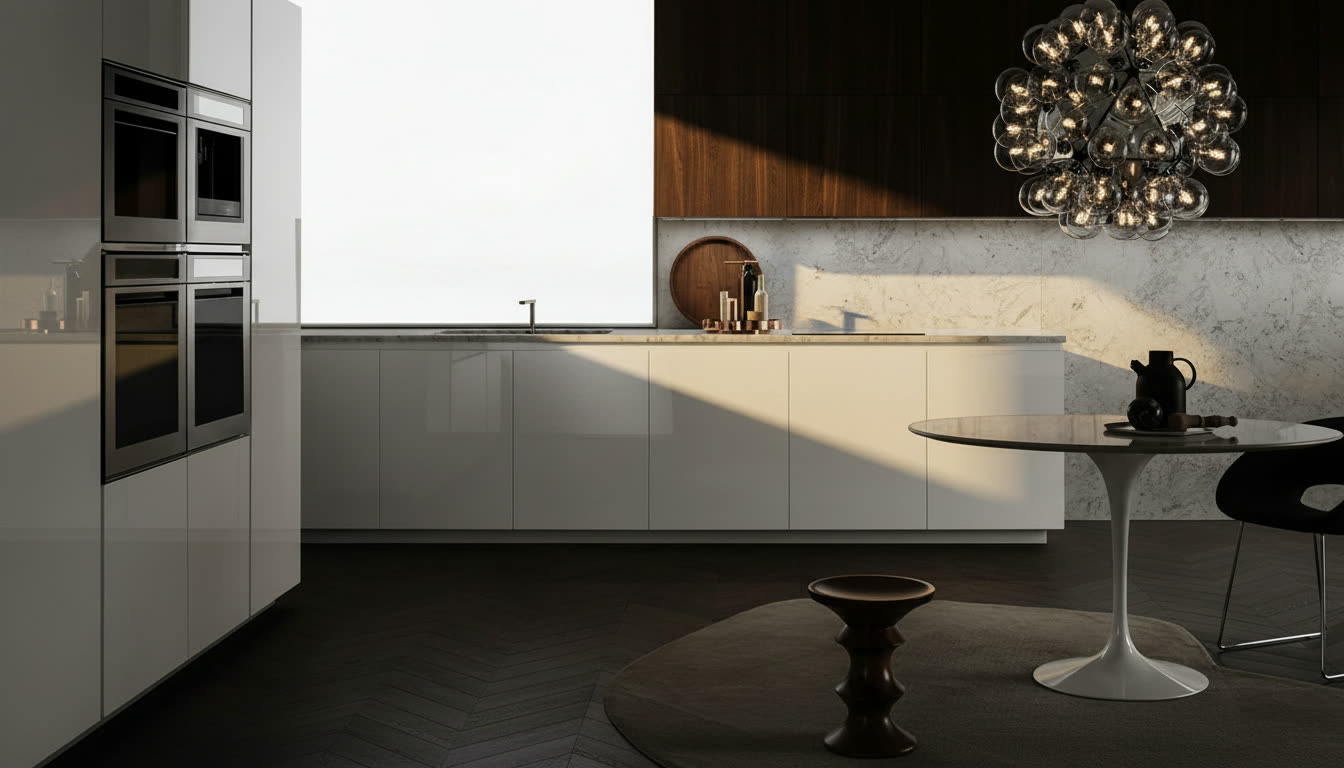
The vein rising from the worktop, and book-matching
A well-made splashback continues the worktop: the vein climbs from the horizontal surface up the wall in the same direction, as though the slab had been folded. To achieve it, the splashback is cut from the part of the slab next to the worktop, not from an offcut; and the richest part of the pattern goes where the eye falls, not under the hood or behind the tap.
Book-matching is the next step. Two consecutive slabs from the same block are opened like the pages of a book and set side by side as mirror images: the joint falls in the centre, usually on the axis of the hob, and the veins draw a symmetrical figure. The two slabs are reserved with the design, before any cutting. Book-matching pays off with broad-veined marbles, as in a Calacatta marble kitchen; with the fine, close vein of a Carrara marble kitchen the result is a calm, luminous wall with no centre.
Thickness, joints and finish
A full-slab splashback is cut in 2 centimetres. On a wall the stone carries no load: anything thicker would only add weight and take depth away from the worktop. The upstand, which comes from the same slab as the worktop, shares its thickness, 2 or 3 centimetres.
Every slab has its own length: when the wall is longer, the joints are decided on the drawing. They are placed in a corner, on the axis of the hob or where a wall unit hides them, and closed with resin in the colour of the stone. Between worktop and splashback there is instead a sealed, flexible joint, so that water cannot run down behind the base units.
As for the finish, the wall is freer than the worktop, because it takes neither pans nor knives. Polished gives the vein its greatest depth, but it mirrors the light strip under the wall units and shows marks; honed, matt and silky, is what we recommend behind the hob and the sink.
Cut-outs for sockets, taps and shelves
A full slab meets everything on the wall. Sockets and switches are surveyed on site with a template; the openings are cut on CNC machines with radiused corners, because stone tends to crack from the sharp corner of a cut-out. The thickness of the slab is added to the wall: the electrician must bring the back boxes flush with the new surface before fitting. Where possible, line the sockets up in a single band, away from the finest veining, or move them beneath the wall units: the slab stays whole.
A wall-mounted tap needs two precise holes and pipework already fixed at the right height. Shelves in the same stone rest on steel brackets fixed to the wall and hidden within the thickness. At a window the same stone can turn into the reveal and become the sill; a niche is lined on its back, sides and shelf, with 45° mitres that make the thickness disappear.
Behind the hob and behind the sink
Behind the hob marble behaves well, provided you know it. It tolerates moderate heat: with induction the wall stays cool; with gas the flame must not lick the stone and pans on the rear burners should not lean against the slab; keep the distance from the wall given by the hob manufacturer. Splashes matter more than heat: grease, which the protective treatment keeps on the surface until you wipe it away, and tomato sauce, wine and lemon, which are acidic and dull a polished surface.
Behind the sink the issue is water. Drops that dry leave limescale, and limescale remover, which is an acid, is not used on marble: wiping with a cloth after washing up is enough. What counts here is the sealed joint between worktop and splashback and, again, the honed finish. If the bowl is in the same stone, as in a carved marble sink, worktop, bowl and wall become a single surface.
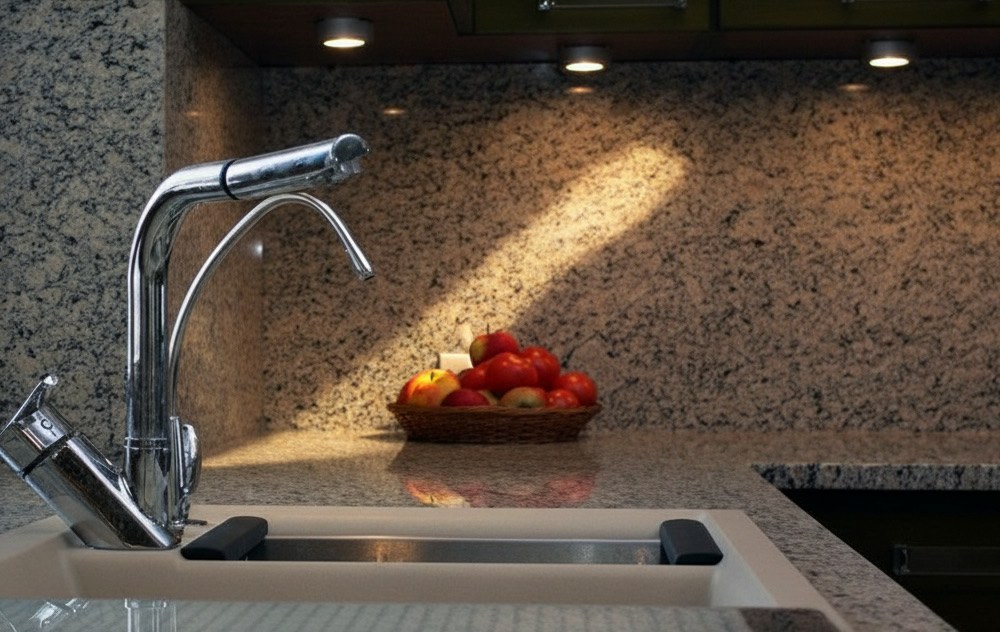
The thin alternative: Laminam and Dekton
Those who cook every day with oil, tomato and wine, and would rather not think about it, can choose a sintered stone for the splashback. Laminam is porcelain stoneware in large slabs, with thicknesses starting from 3 millimetres; Dekton is Cosentino's ultra-compact surface, made of quartz, porcelain and glass, which we work in 2 centimetres and, where weight must be saved, in 1.2. Neither absorbs liquids, fears acids or is marked by the heat of the hob.
On a wall a thin slab weighs little, takes no depth from the worktop and covers large areas with few joints. In return, the vein is reproduced and comes back identical from slab to slab; book-matching is a printed motif, not a stone that truly mirrors itself; and a damaged slab is replaced, whereas marble is re-honed on site. Many projects combine the two routes: real marble where the eye rests, a technical surface in the same tone behind the hob. The full comparison is in the guide marble, Dekton, quartz or Fenix.
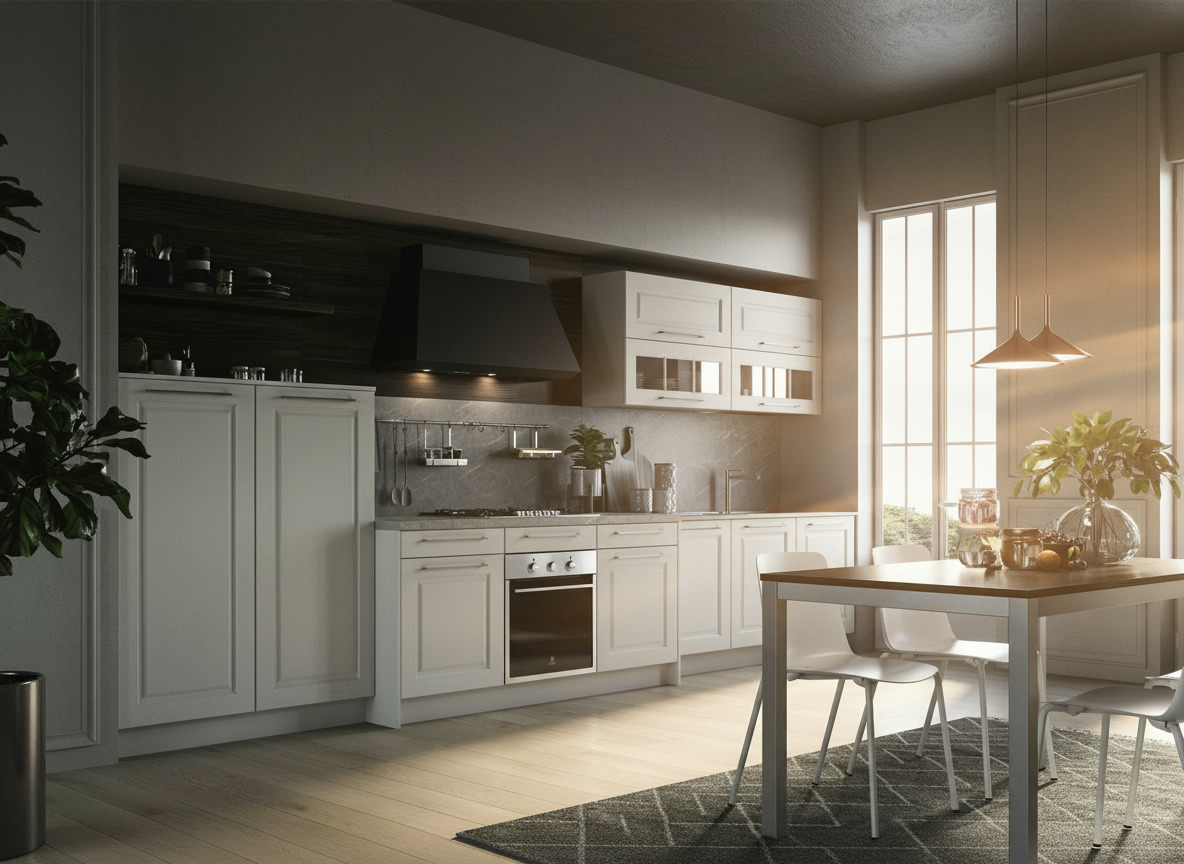
On a kitchen you already have: how Michelessi works
You do not need a new kitchen to have a marble splashback. Michelessi has worked stone in Aprilia, on the Via Pontina between Rome and Latina, since 1976, and fits splashbacks to kitchens already installed, whatever the make. It starts with a site survey and quotation, free of charge in Rome, Latina and throughout Lazio: our technicians template the worktop, the wall and where it runs out of square, the sockets, the hood and the line of the wall units. If the worktop stays, the splashback sits on top of it; if you are changing the worktop too, both pieces come from the same slab. The survey also settles whether the old tiles come off and whether the hood has to be taken down for fitting.
The 3D design shows the finished wall, with veins, joints and cut-outs in place, before anything is cut. The slabs are chosen one by one in the workshop, with you, in person or by video call. Cutting is done on CNC machines; edges and cut-outs are finished by hand. Fitting is by Michelessi's own team, who bond the slab to the wall and seal the joints in the colour of the stone. We deliver and install across Italy and abroad, as with the Dubai project; lead times are set with the quotation, which you can request from the marble kitchen quote page.
Caring for a marble splashback
A splashback asks less than a worktop: nobody cuts on it or puts anything down on it. Lukewarm water, neutral soap and a soft cloth are enough; splashes of sauce, lemon, wine and vinegar are wiped away at once. No limescale remover, no harsh degreasers, no abrasive pads. The protective treatment is renewed when water no longer beads on the surface and the stone darkens when wet. A mark or a dull patch can be removed by re-honing and re-polishing on site. The detail is in the guide to marble worktop care and maintenance.
Further reading
The splashback is one chapter of the kitchen: the full picture, with worktops, islands, technical surfaces and the Domina, Noè, Era 02 and Volo 01 modular ranges, is on the indoor marble kitchens page. With a photograph of the wall and a few measurements we can give you first advice: the quotation is free.
Frequently asked questions
Frequently asked questions
What is the difference between an upstand and a splashback?
An upstand is a low strip, generally between 3 and 10 centimetres, that closes the gap between worktop and wall; a splashback is the slab that rises to the wall units or the hood. In everyday use ‘splashback’ covers both, most often the full-height one. The upstand comes from the same slab as the worktop; the full slab is cut in 2 centimetres.
Will marble behind the hob be damaged by heat and grease splashes?
No, if it is honed and sealed: marble tolerates moderate heat and, on a wall, never has a pan set down on it. With gas the flame must not lick the slab and pans should not lean against the stone. Grease comes off with a cloth and neutral soap; sauce, wine and lemon should be wiped at once, because they are acidic and dull a polished finish.
Can a marble splashback be fitted over existing tiles?
Often yes, if the tiles are sound and flat: we check during the site survey. The thicknesses add up, though: sockets and switches must be brought flush with the new surface and the wall moves forward over the worktop. That is why a thin Laminam slab is usually preferred over existing tiles, or the tiles are removed before the marble is fitted.
Can a marble splashback be made in one piece, with no joints?
Yes, as long as the wall fits within the length of the chosen slab, which we check in the workshop before the design. For longer or L-shaped walls the joints are decided in the 3D design: in a corner, on the axis of the hob or behind a wall unit, closed with resin in the colour of the stone. With book-matching the central joint becomes part of the pattern.